I thought I would try to show you how to make one of these bucket bags...
They are fast and easy.
I used 2 Fat Quarters and some batting.

If you want a stiffer bag,
you could use Soft and Stable by Annie

I stacked the two fat quarters on my cutting mat.

I cut my strips from the short sides
Cut 4 - 4.5" x 18" strips(bag outside and inside)
and
1 - 4" strip from EACH fat quarter(handles)

The two strips 4" x 18" will be the handles.
4 - 4.5" x 18 will be for the outside of the bag.
4 - 4.5" x 18" will be for the inside of the bag.

You will also need 4 - 4.5" x 18" pieces of batting

2 - 1.5" x 18 strips for the inside of the handles
Lay out the batting strips like this...

With right sides up lay your outside strips
on
top of the batting strips

Fold over one batting/fabric strip onto the other like this

Stitch the strips together on the left side

Then fold over and sew the unit together the other way matching center seams
making
a windmill shape like this

I lay the lining strips right sides up on the first windmill
and
sew the lining strips together the same way as the batting/outside strips
to
make your lining windmill unit.

Make sure the windmills are sewn opposite,
spinning opposite ways

You will have two like this
Fold over one strip so it's lined up against the other strip,
giving a 45 degree at the bottom


Do this with each strip on both windmills
to
create the inside and outside for the bag


Construct the handles next!
Lay the thin batting strip
on
the center of the handle strips on the wrong side.
Fold in half , then half again stitching down each side.

Make two handles.
Pin a handle end on each side
with
right sides together.

With rights sides facing into the batting/bag.
arrange the lining into it, matching the corners to each other.

Stitch around the edges making sure to catch the handles at the corners.
You can trim the points off the corners.

Make sure to leave one part open so you can turn your bag out!

When you turn the bag right sides out.....

Tuck the lining in to the outside part of the bag
Topstitch around the edges of the bag,
making
sure to close the gap where the bag was turned out

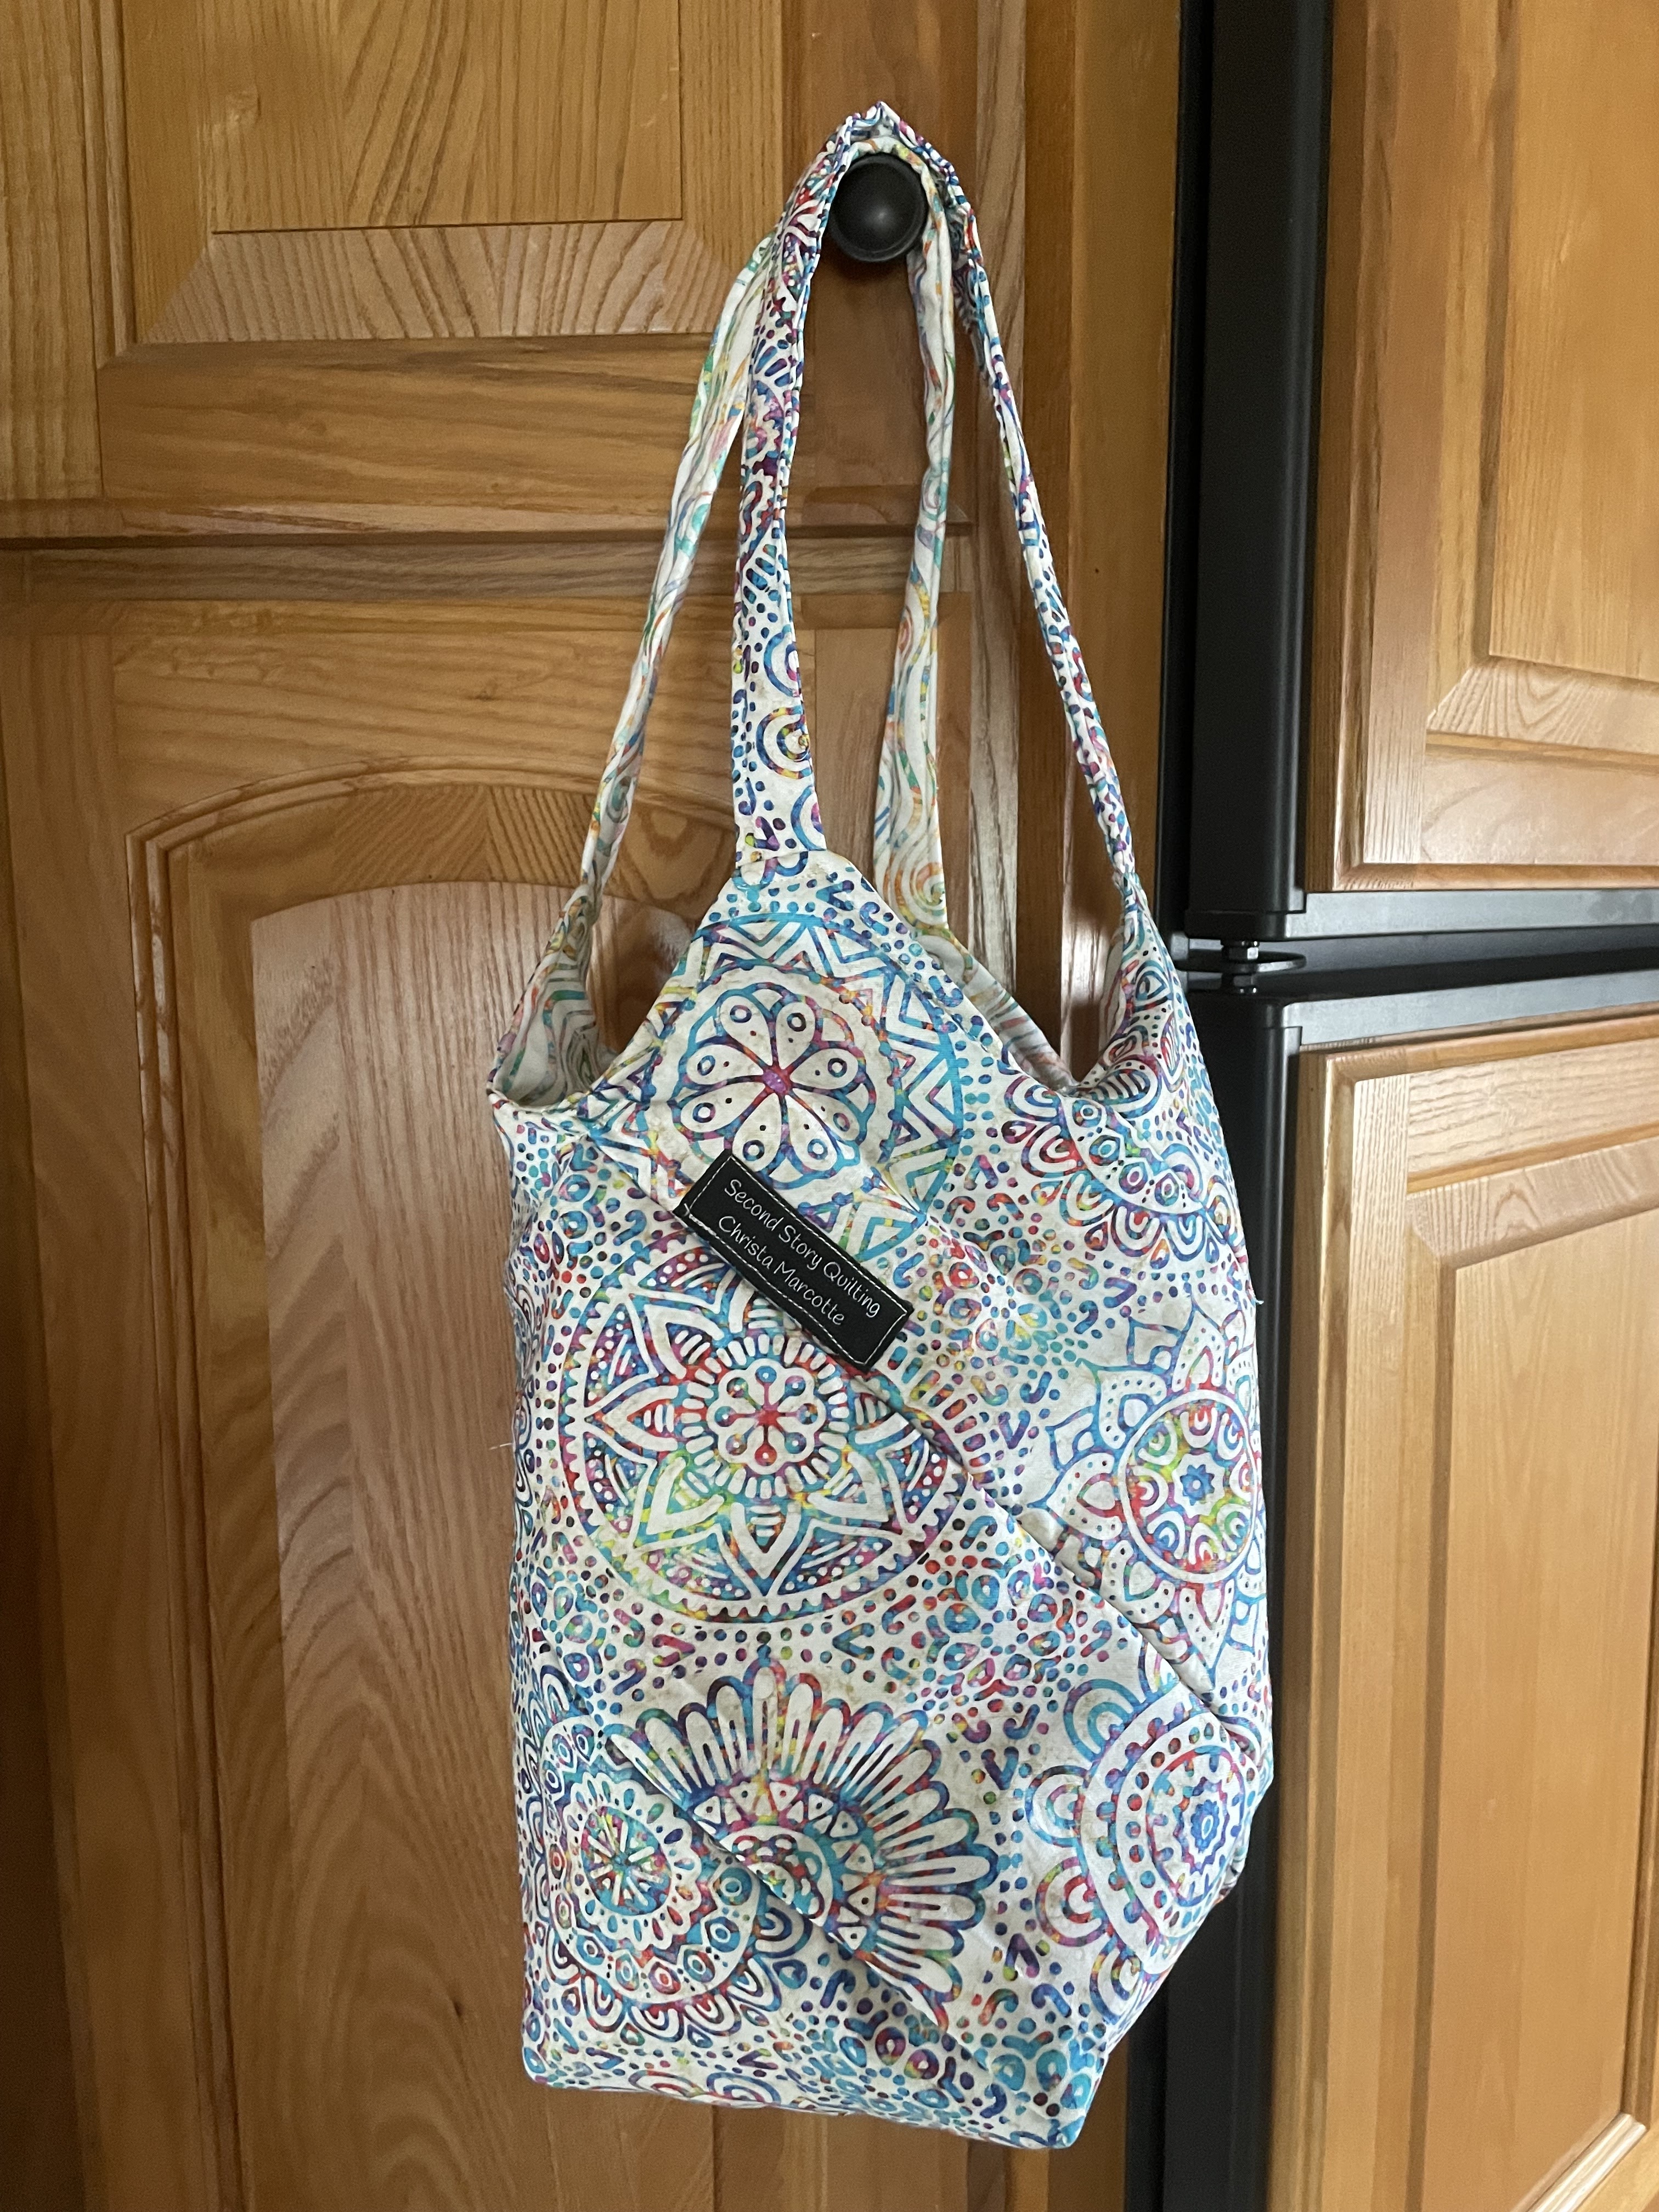
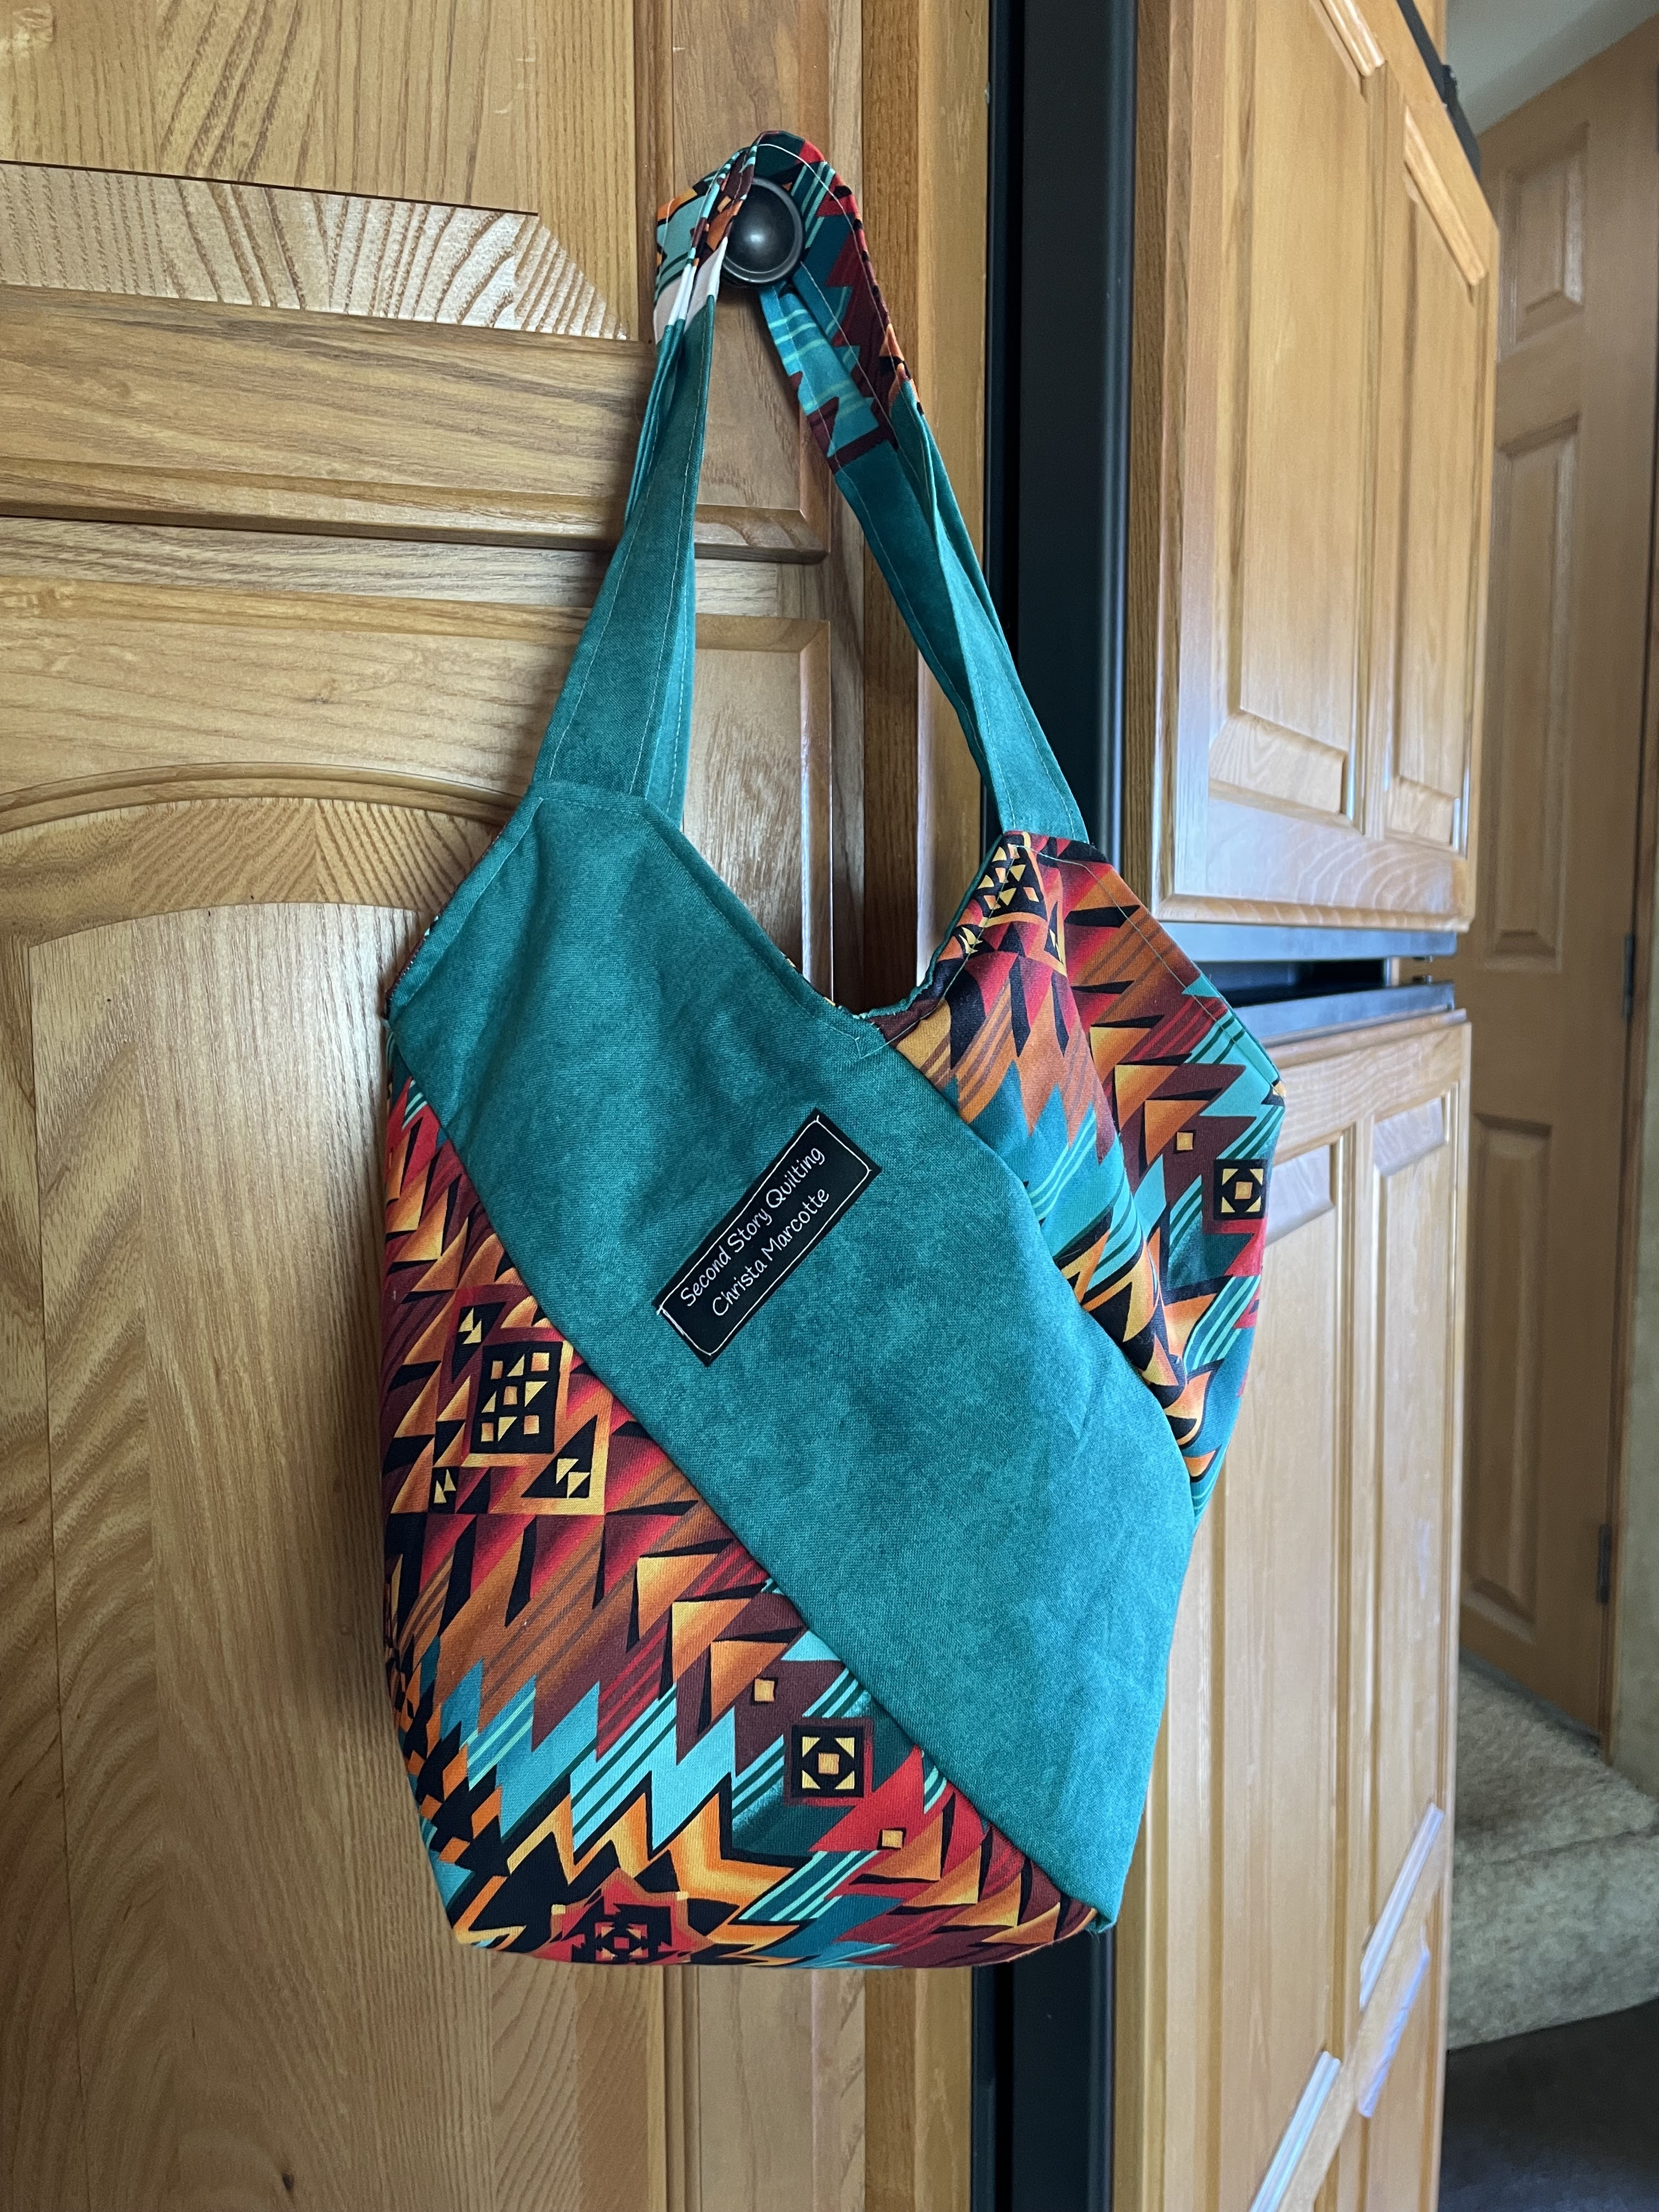
The possibilities are endless.
You can use two panels of each FQ to make the bag two colored
I

The bag is totally reversible.
Thanks for stopping by!
Check us out
at
www.secondstoryquilting.ca
Christa
2SQ


No comments:
Post a Comment
Thank you for reading and hope your enjoyed!!