Showing posts with label Blocloc rulers. Show all posts

Thursday, January 15, 2026

1416 ... Not the Year.....HST’S

I can  not tell a lie...

There are ALOT of HST's

1416 - 1.5"  Half square triangles to be exact.


I am not a huge fan of trimming
 but
 it sure does make a difference in the final construction. 

STEP 1

Treat yourself right and change your blade...

Your body and mind will thank you. 

Trust me. 

It's a simple joy in quilting. 

Some tools of the trades that can make this process easier....


Check them out here on how to use.... 


 For small squaring, I really love my rotating mat


Insert a really good Netflix serries here......


You can also use a regular ruler so no pressure. 
(oh my..... I really need to clean my mat)
 

You will simply line the 45 degree line up to the center of the HST 
and
square to 2" x 2"

There are so many ways to eat this elephant! 

Let's start with MY favorite way to do them. 

16 HST's at a time. 

You will need

 1 - Light 6.5"x 6.5" square
1- Dark 6.5" x 6.5" square

(89 light and 89 Dark squares = 1416 HST's)

I like to stack them right sides together


Then mark the half way line, vertical and horizontal with a pencil
on the light square


I do quite a few pairs at the same time 
to 
take to the sewing machine. 

I am a big chain piecer fan.


I stitch down each side on the block....
(regular 1/4" seam)


As well as both sides of the middle(blue) lines.

These blue lines are your stitching lines. 


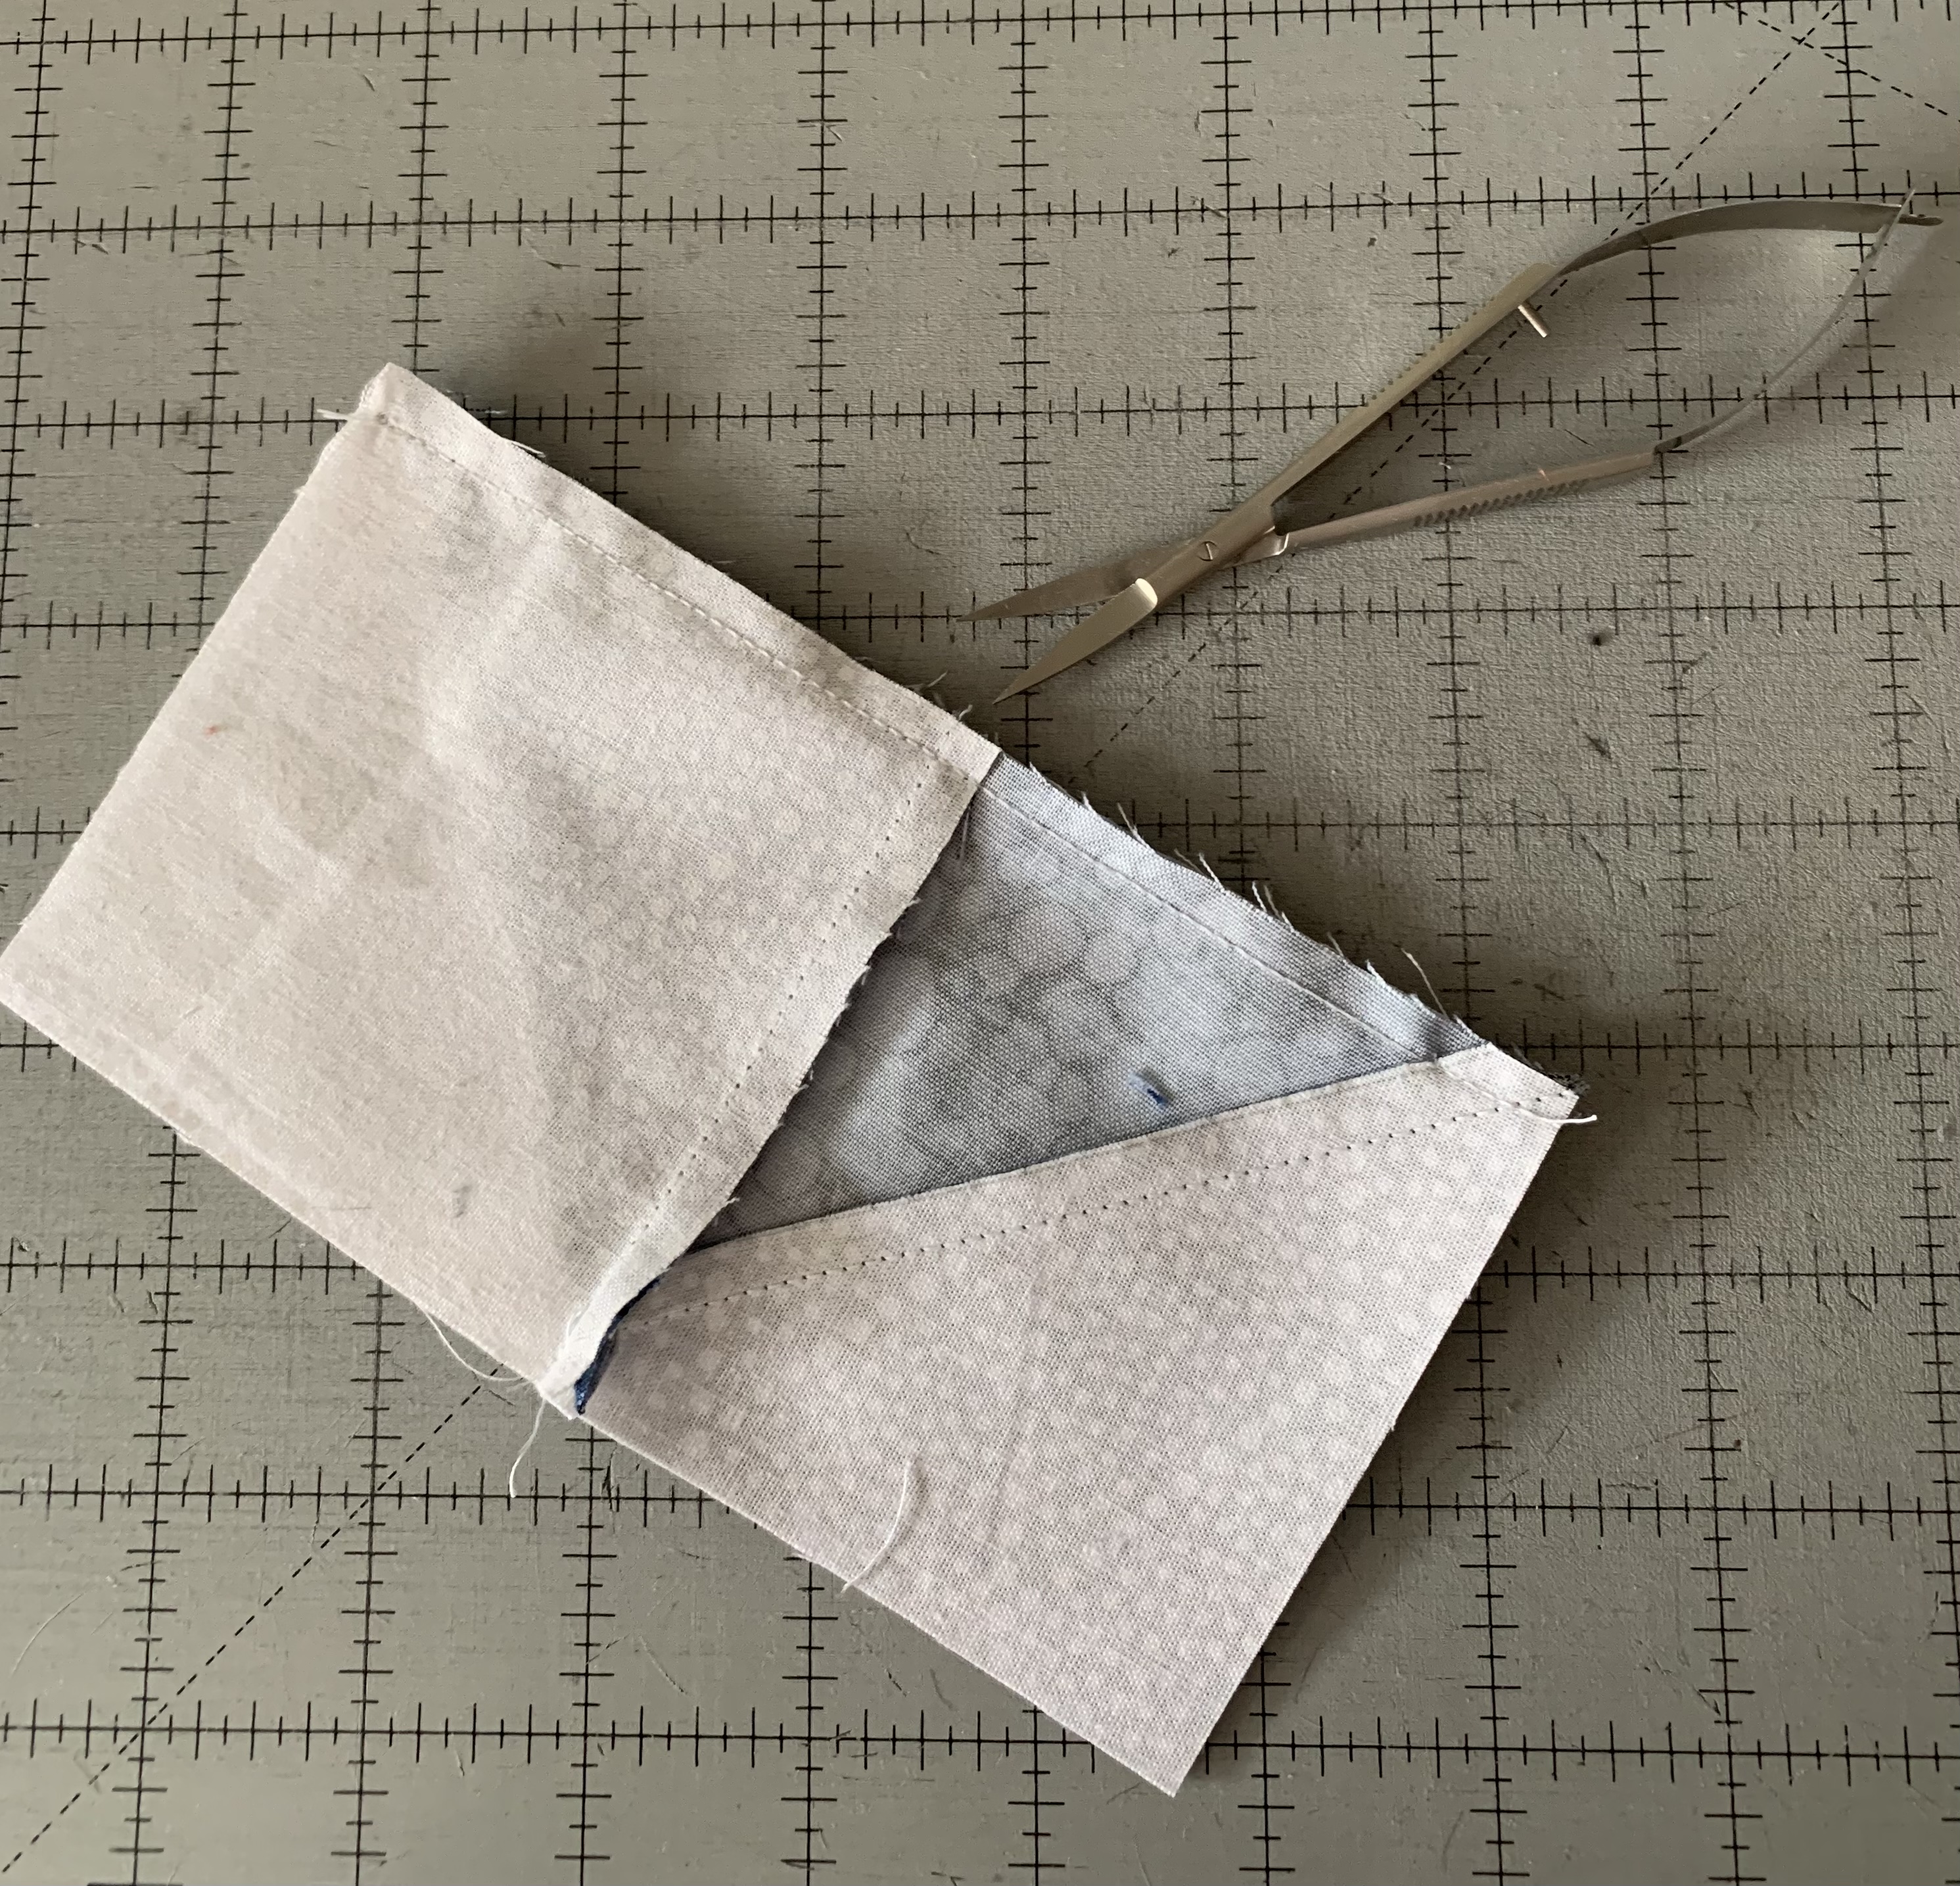
At this point, I like to starch and press these before cutting apart. 

Next, cut the two centers lines 

as well as
 diagonally corner to corner.


I like to clip off my dog ears
 (the green lines)
 before
cutting each square into 4 HST's.


This yields 16 HST's

Press open the HST's toward the dark side.


Here's a great video demonstrating this technique.


Just to give you an idea of how many different ways there are to do HST's...

Check out this video by Karen of  Just Get It Done Quilts


Karen is a Canadian Quilt who always has great tips and tricks in the quilting world.

This will get you started on those Half Square triangles. 

We will try a few techniques if you are interested in learning a few new ways! 


If you are looking to join us, 

get your kit HERE

Till next week,  

Christa 
2SQ


Monday, April 11, 2022

Wyoming Valley Block Beginnings - Step 1

TODAY IS THE DAY!! 

It's a great day to start this quilt along! 

I have created a Stars in the Valley QAL page on FB 

It’s open so come join even if you are not participating!

I hope you will post your adventures on your project as we go along!


Love to see all the colour ways as we go! 

Hopefully you had a chance to get your pieces cut out! 

If not...no pressure! 

These posts will always be available...forever!


My favorite thing about this pattern is how  you make components 

that 

turn into 13 large blocks! 

If you have arranged your pieces into the Steps....

We are going to start with STEP ONE

You will need the light and the dark 8" squares

and

52 - 3 1/2” squares 

On the light 8” square, 

draw a line from corner to corner on each square

Next

 Sandwich the dark and light squares with RIGHT sides together

Take to the machine

 and

 sew a 1/4" on each side of the lines


In both directions from corner to corner 


Next you cut from corner to corner 
as well as
center to center 


This will yield 8 half square triangle units.
I like to press my blocks with the seam towards the dark side. 


You can square them up now or later

I love my Blocloc rulers for squaring up HST’s


These should measure 3 1/2” square 
and 
you will have 156 HST’S


This pattern is pretty precise 


So No one will judge you if you don’t bother to square up! 

I didn’t and it turned out just fine….

You do you! 
Next I laid out the pieces to match this…


Took them to the bed of my machine 


Put right sides together 


Stitch the two units chain pieced
(If you want to)


I pressed my seams to the dark side 
And 
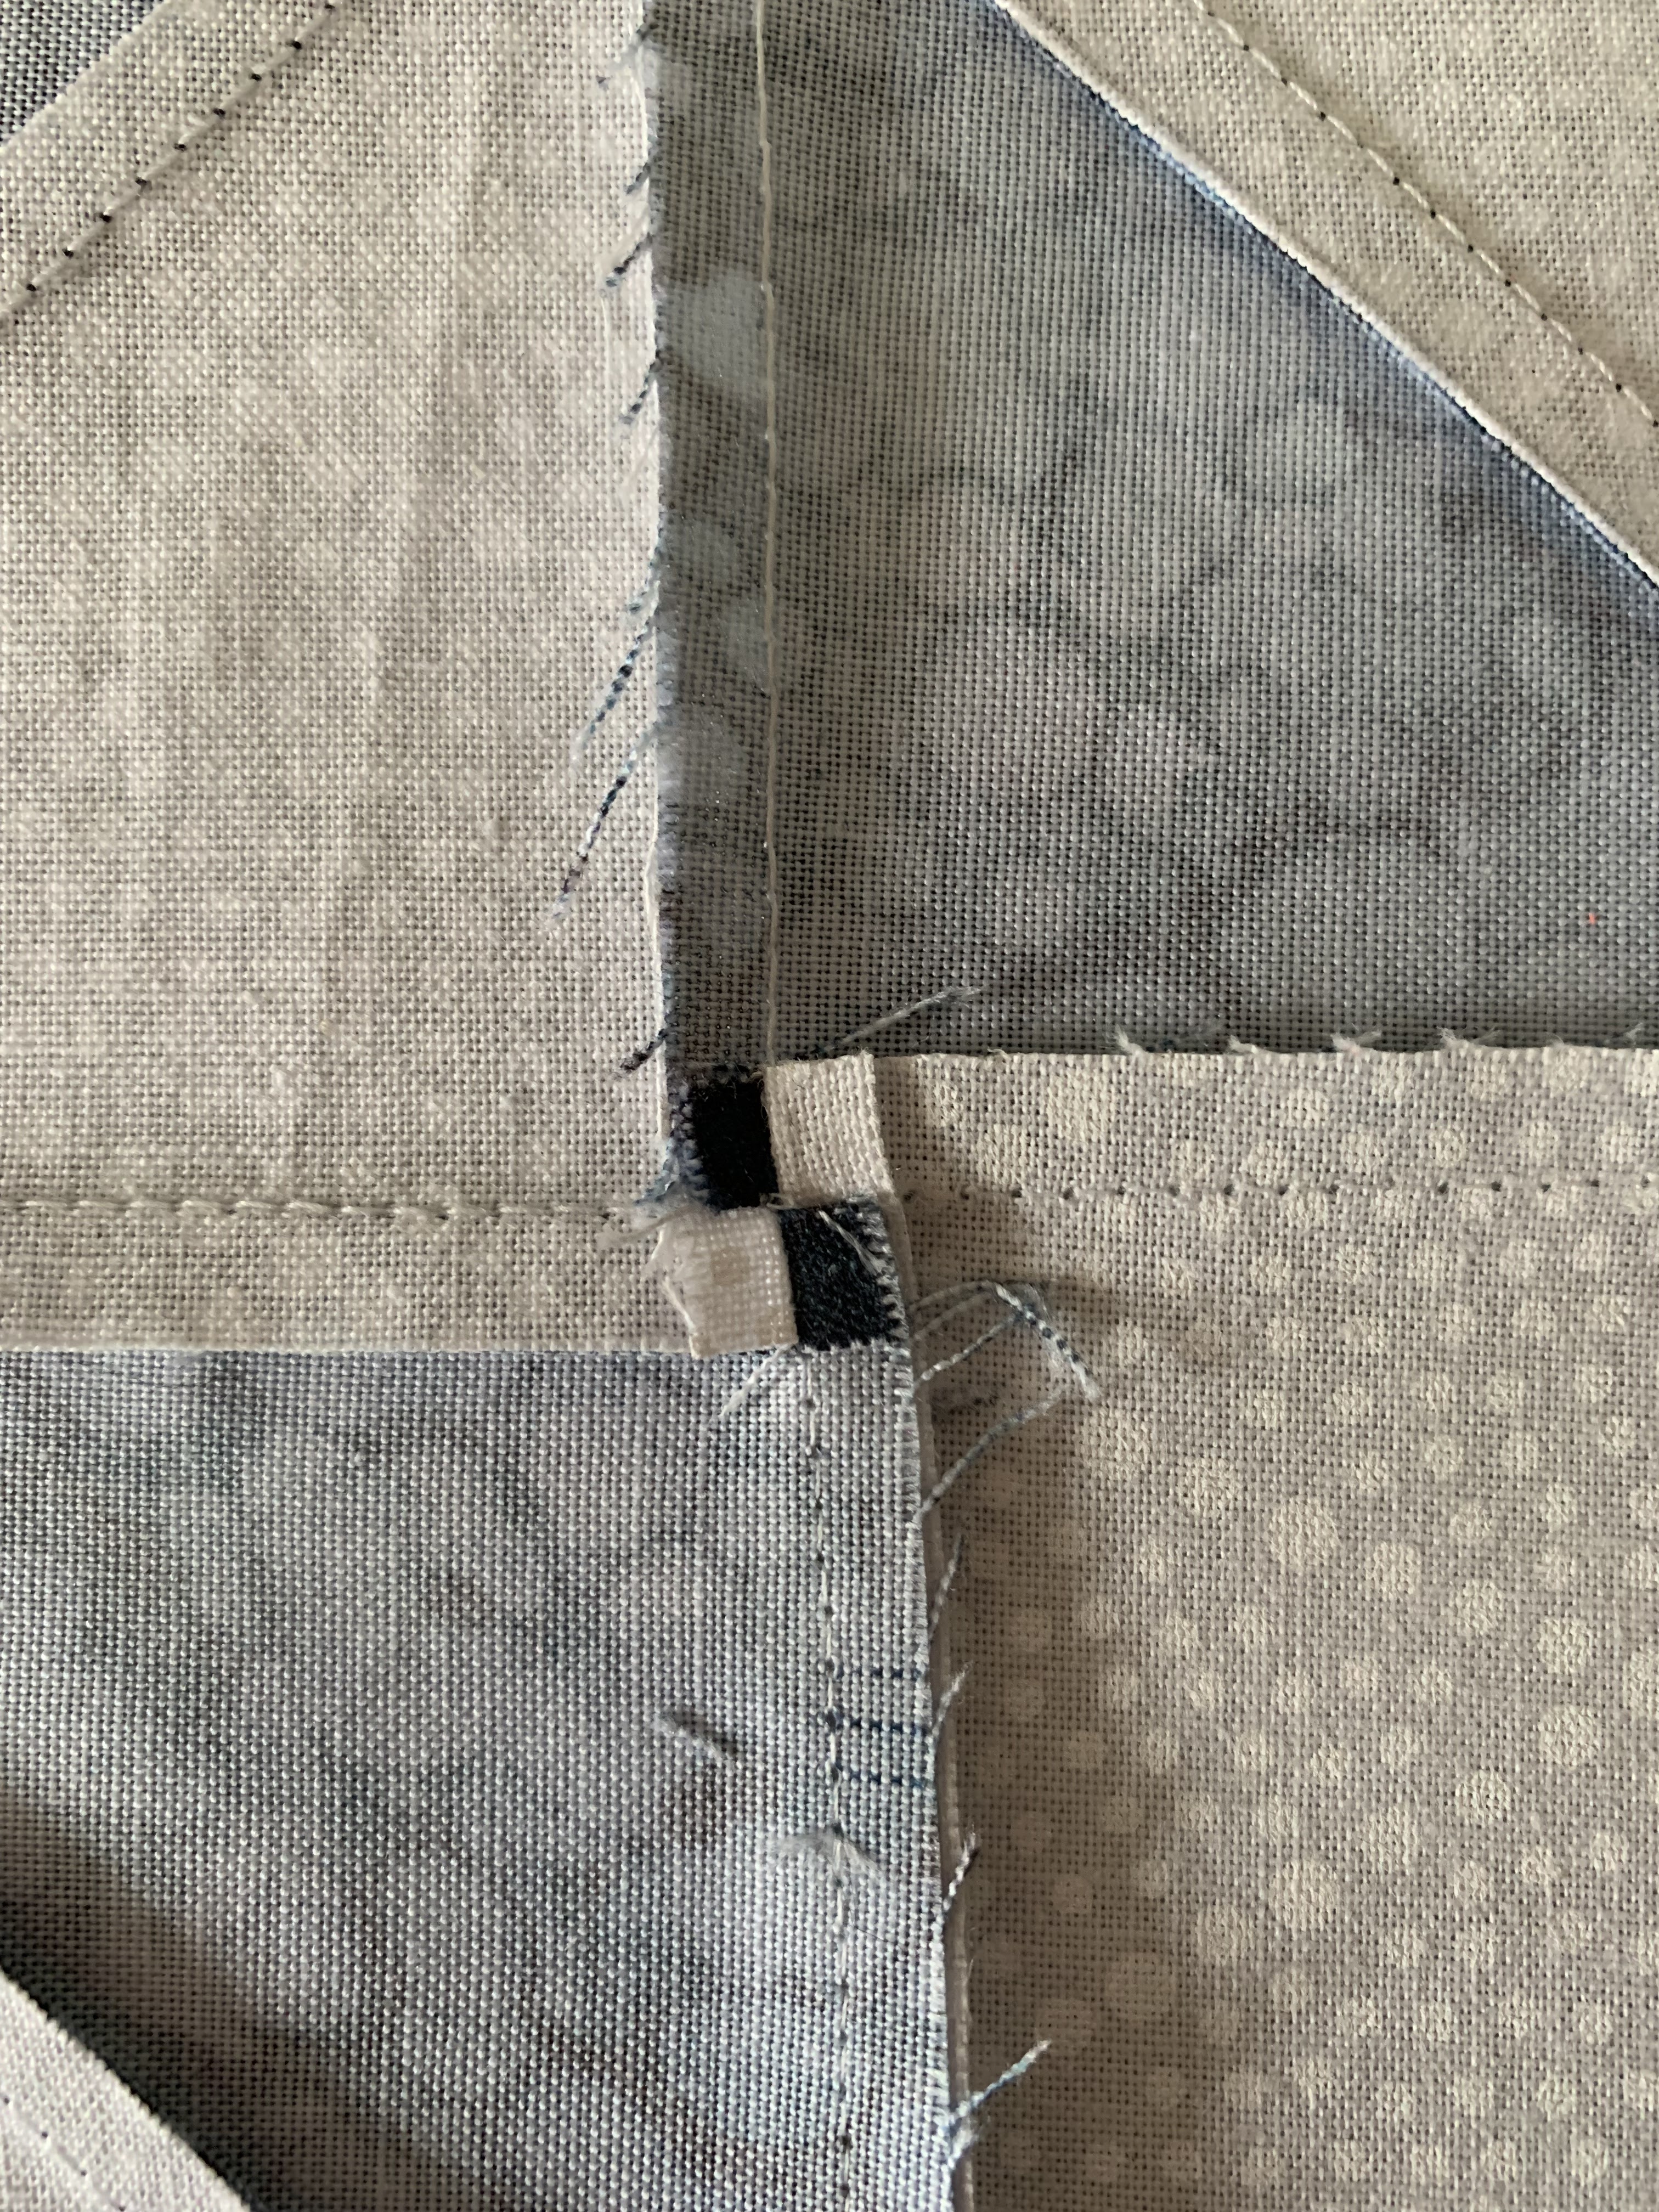
Everything will nest very well when you put right sides together again to complete this unit! 

I snip the little chain stitch before taking to the iron! 


I took a class from John Flynn years ago

He told us about giving this center seam a twist to pull the stitches apart on the backside


It will open up that center and lay the four little squares to press flat! 


Works every time! 


Taaahhh daahhh! 


You have made your first step with your corner blocks complete! 

You will have 52 units of Wyoming Valley Block! 

Onward and upward….

Christa


Wednesday, November 10, 2021

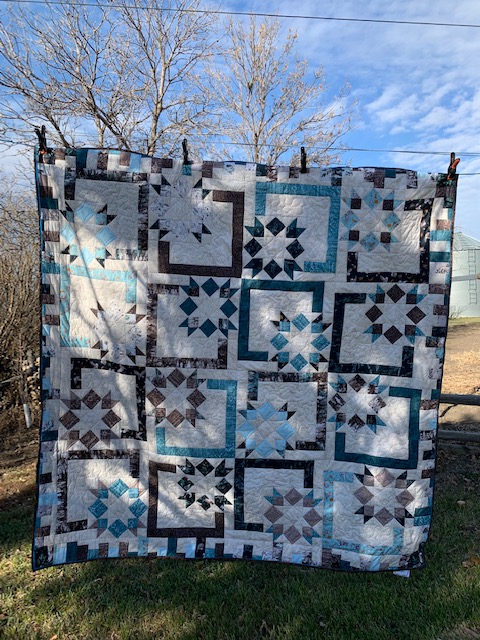
Forest Fables by Esther Fallon Lau for Figo

Haven't the skies been incredible lately?


I can't believe the weather we have had either. 

Sure makes the winter a lot shorter...

But so does going to Arizona for a few months!! lol

I recently made a quilt using this wideback
 by
 Westrade called Moonscapes

I used it as background for the front 
as
a wide back(108"x108") will yield 9 yards of fabric!


You might this it is too mottled 
but
 it really adds an interesting element to it. 

I used Eclectic Elements by Tim Holts 


The pattern is called Brilliant by Taralee Quiltery in Manitoba.

It was a pattern I tested for her last year. 


You can find that pattern HERE


My next project with that backing was this one!


I am loving this new line of fabric
 
called

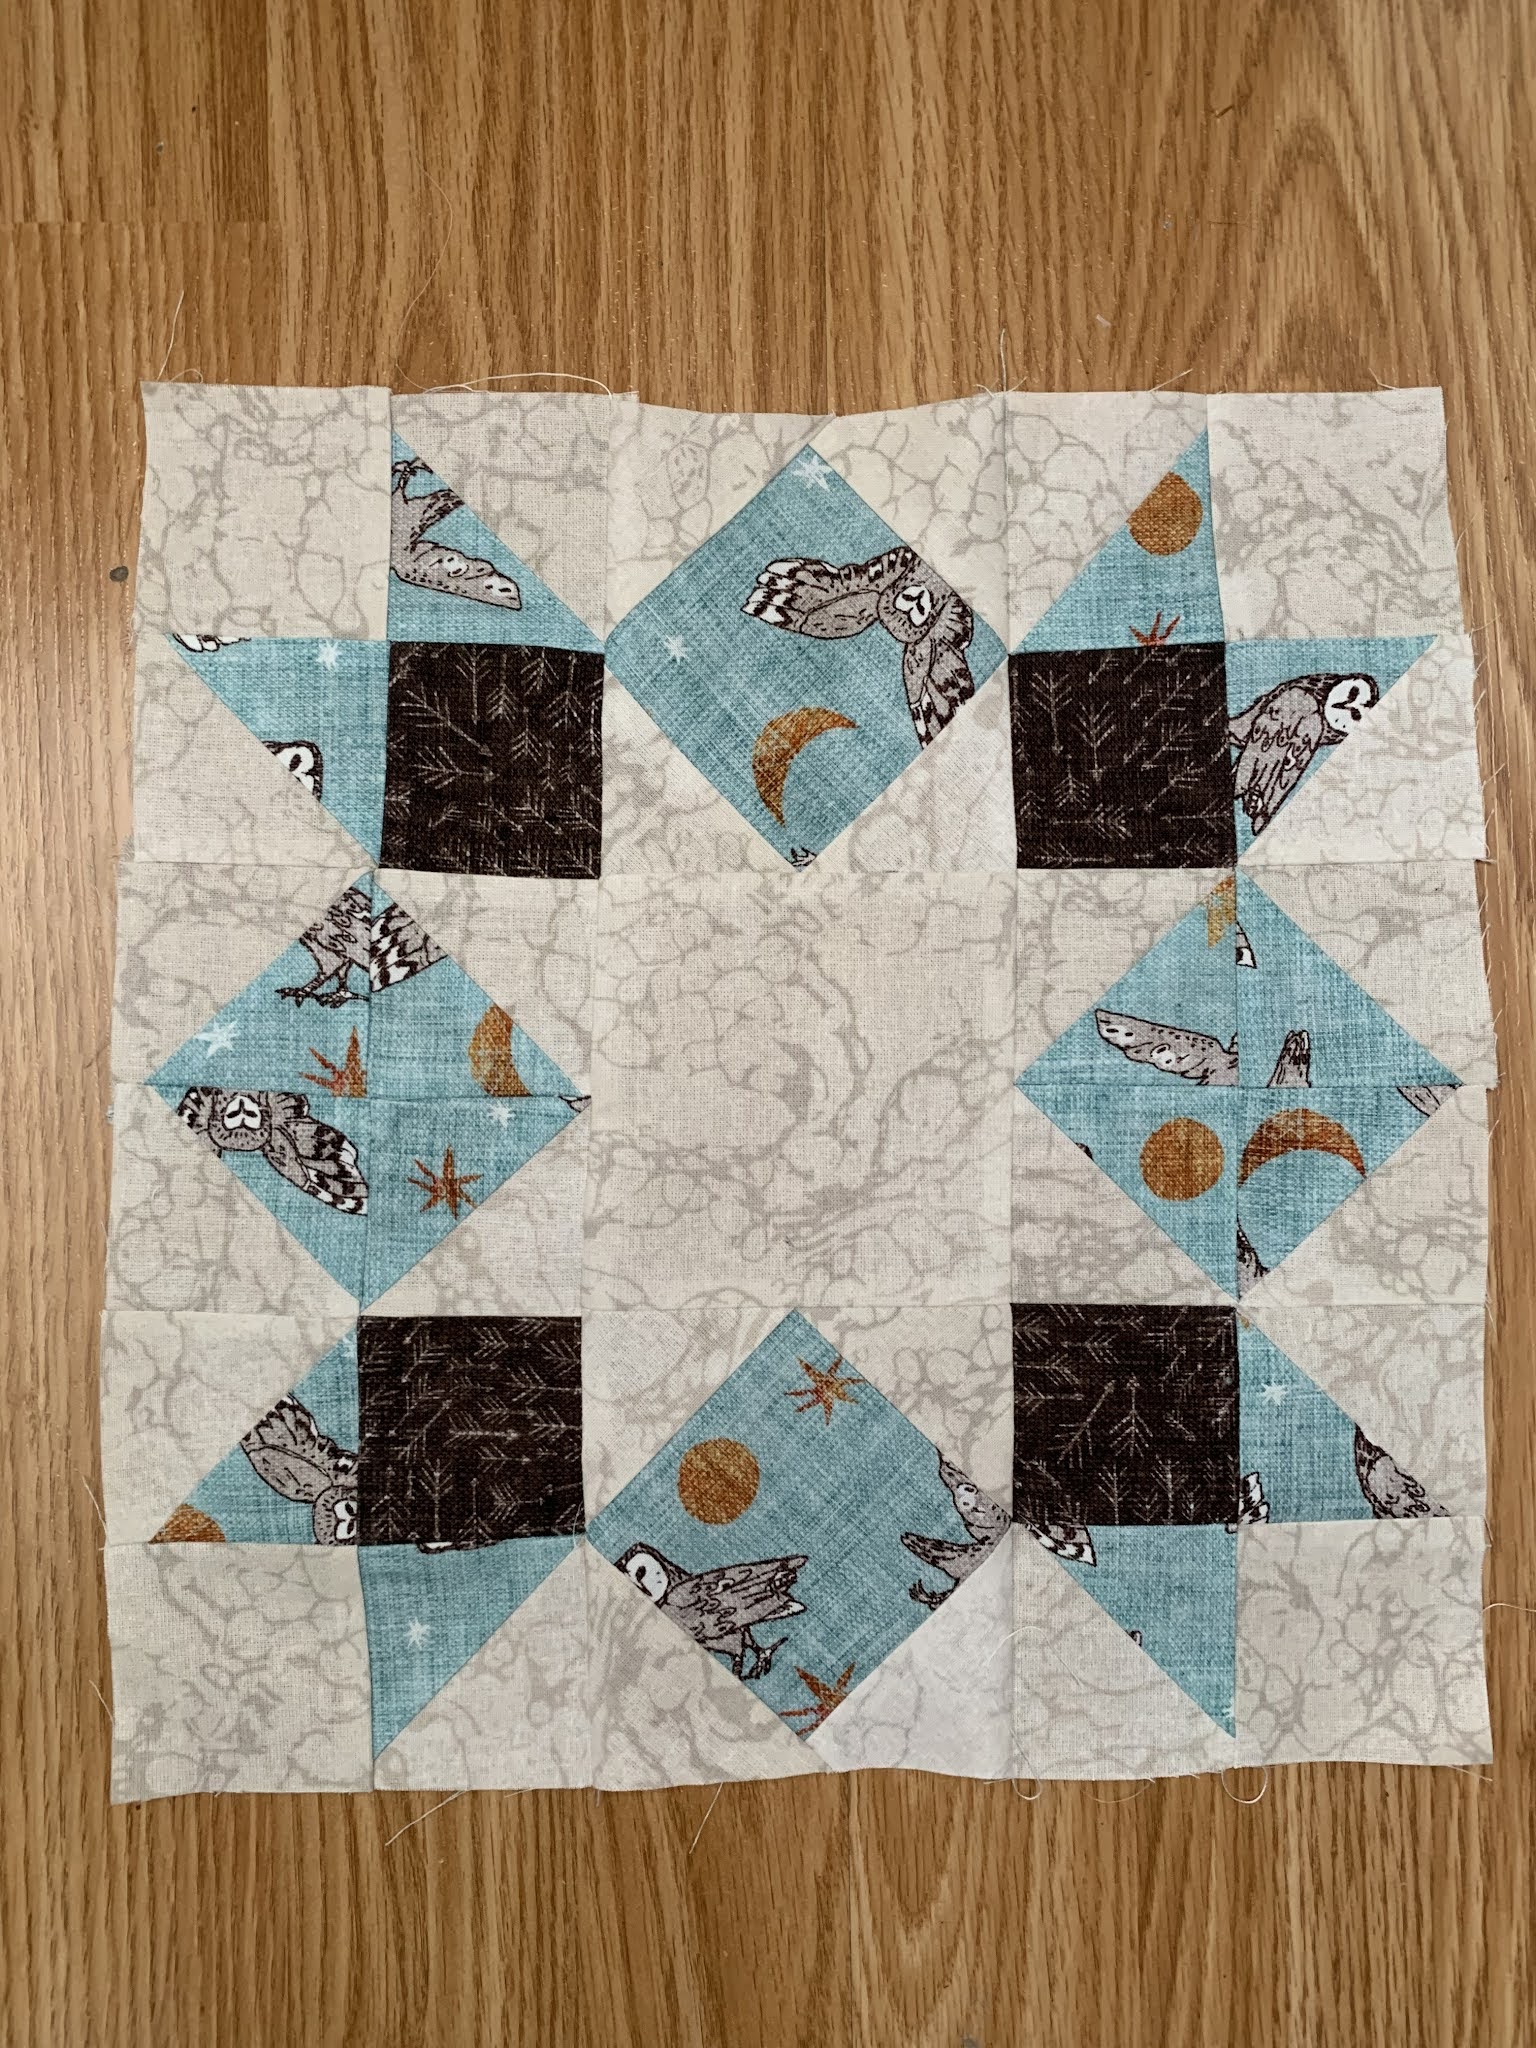
 Forest Fables by Esther Fallon Lau for FIGO Fabrics.


I love the tweedy look of the prints 


AND


you guessed it....


It's BLUES AND BROWNS!


My aunt was working on a quilt called the Framed Inverted Star Quilt.

That free pattern can be found HERE

I thought the combination of this wideback 


and

 this FQ bundle would be perfect together! 


I also really enjoyed using my new Blocloc Rulers 

for
 
squaring up my HST's


I have sold them for awhile now but never got myself a set. 


So many new quilters were purchasing them, 

I decided I deserved a set! 


They were right!

Made quick work of that task! 

I quilted it myself. 


Nothing crazy....


I put a scrappy piano key border on the outside to just shake it up a bit! 


This was a fun quilt to make! 

Love how it turned out!

You can find these fabrics and rulers 
 on
 my website if you would like some for yourself! 

www.secondstoryquilting.ca

Thanks for reading! 

Christa


My Favorite Way to HST's (16 at at time)

  Hey all my Spinning Wheelers!  I hope I have not put you all in the loonie bin with the amount of HST's in this project I promise the ...