Friday, April 15, 2022

Fly, Fly away… Part 2 of Stars in the Valley

 It seems I forgot to say...

Every good project starts with a little sustenance!

Have you tried these Dairy Milk Mini Egg bars?? 


Seriously,
 I wish Justin would not have introduce me to them! 

But it is Easter, right??

I am so impressed with the blocks that have been pumped out this week! 

You can see progress on our group
on 
Facebook

@starsinthevalleyQAL

This is Cheryl Dvernichuk's Wyoming block 


This wideback sold out in a week! 

It is called Multi Butterfly Magic Dots 
by
Timeless Treasures

I hope I can get some more! 

So let's see where this next step takes us! 

We are on to Fast Flying Geese! 


Start with Flying Geese A


You will need these...


If you prefer to make your lines on each small square, 
go for it! 


I like to line up two squares on the diagonal of the big one....


Draw one long line...


And take to the machine!

Sew on 1/4" on both sides of the line...


Cut down the center


Press to the dark side....


Add two more squares on the diagonal of these two new blocks


Sew 1/4" on both sides of the line again.

Cut down the center


Press to the dark side again

Voila!
 You have 4 flying geese with dark wings! 


Flying Geese B


These Geese will be the light wings 


This will be the exception to the rule when you press...

I pressed to the light side this time.


I feel like it gives a more accurate goose in the end.

But you do you....no pressure! 

In my world, there are no rules...

Only what works for you! 

Add your squares again,

Stitch on both sides of the line....


Cut, press, Repeat....

I love how this fast way makes four at a time! 


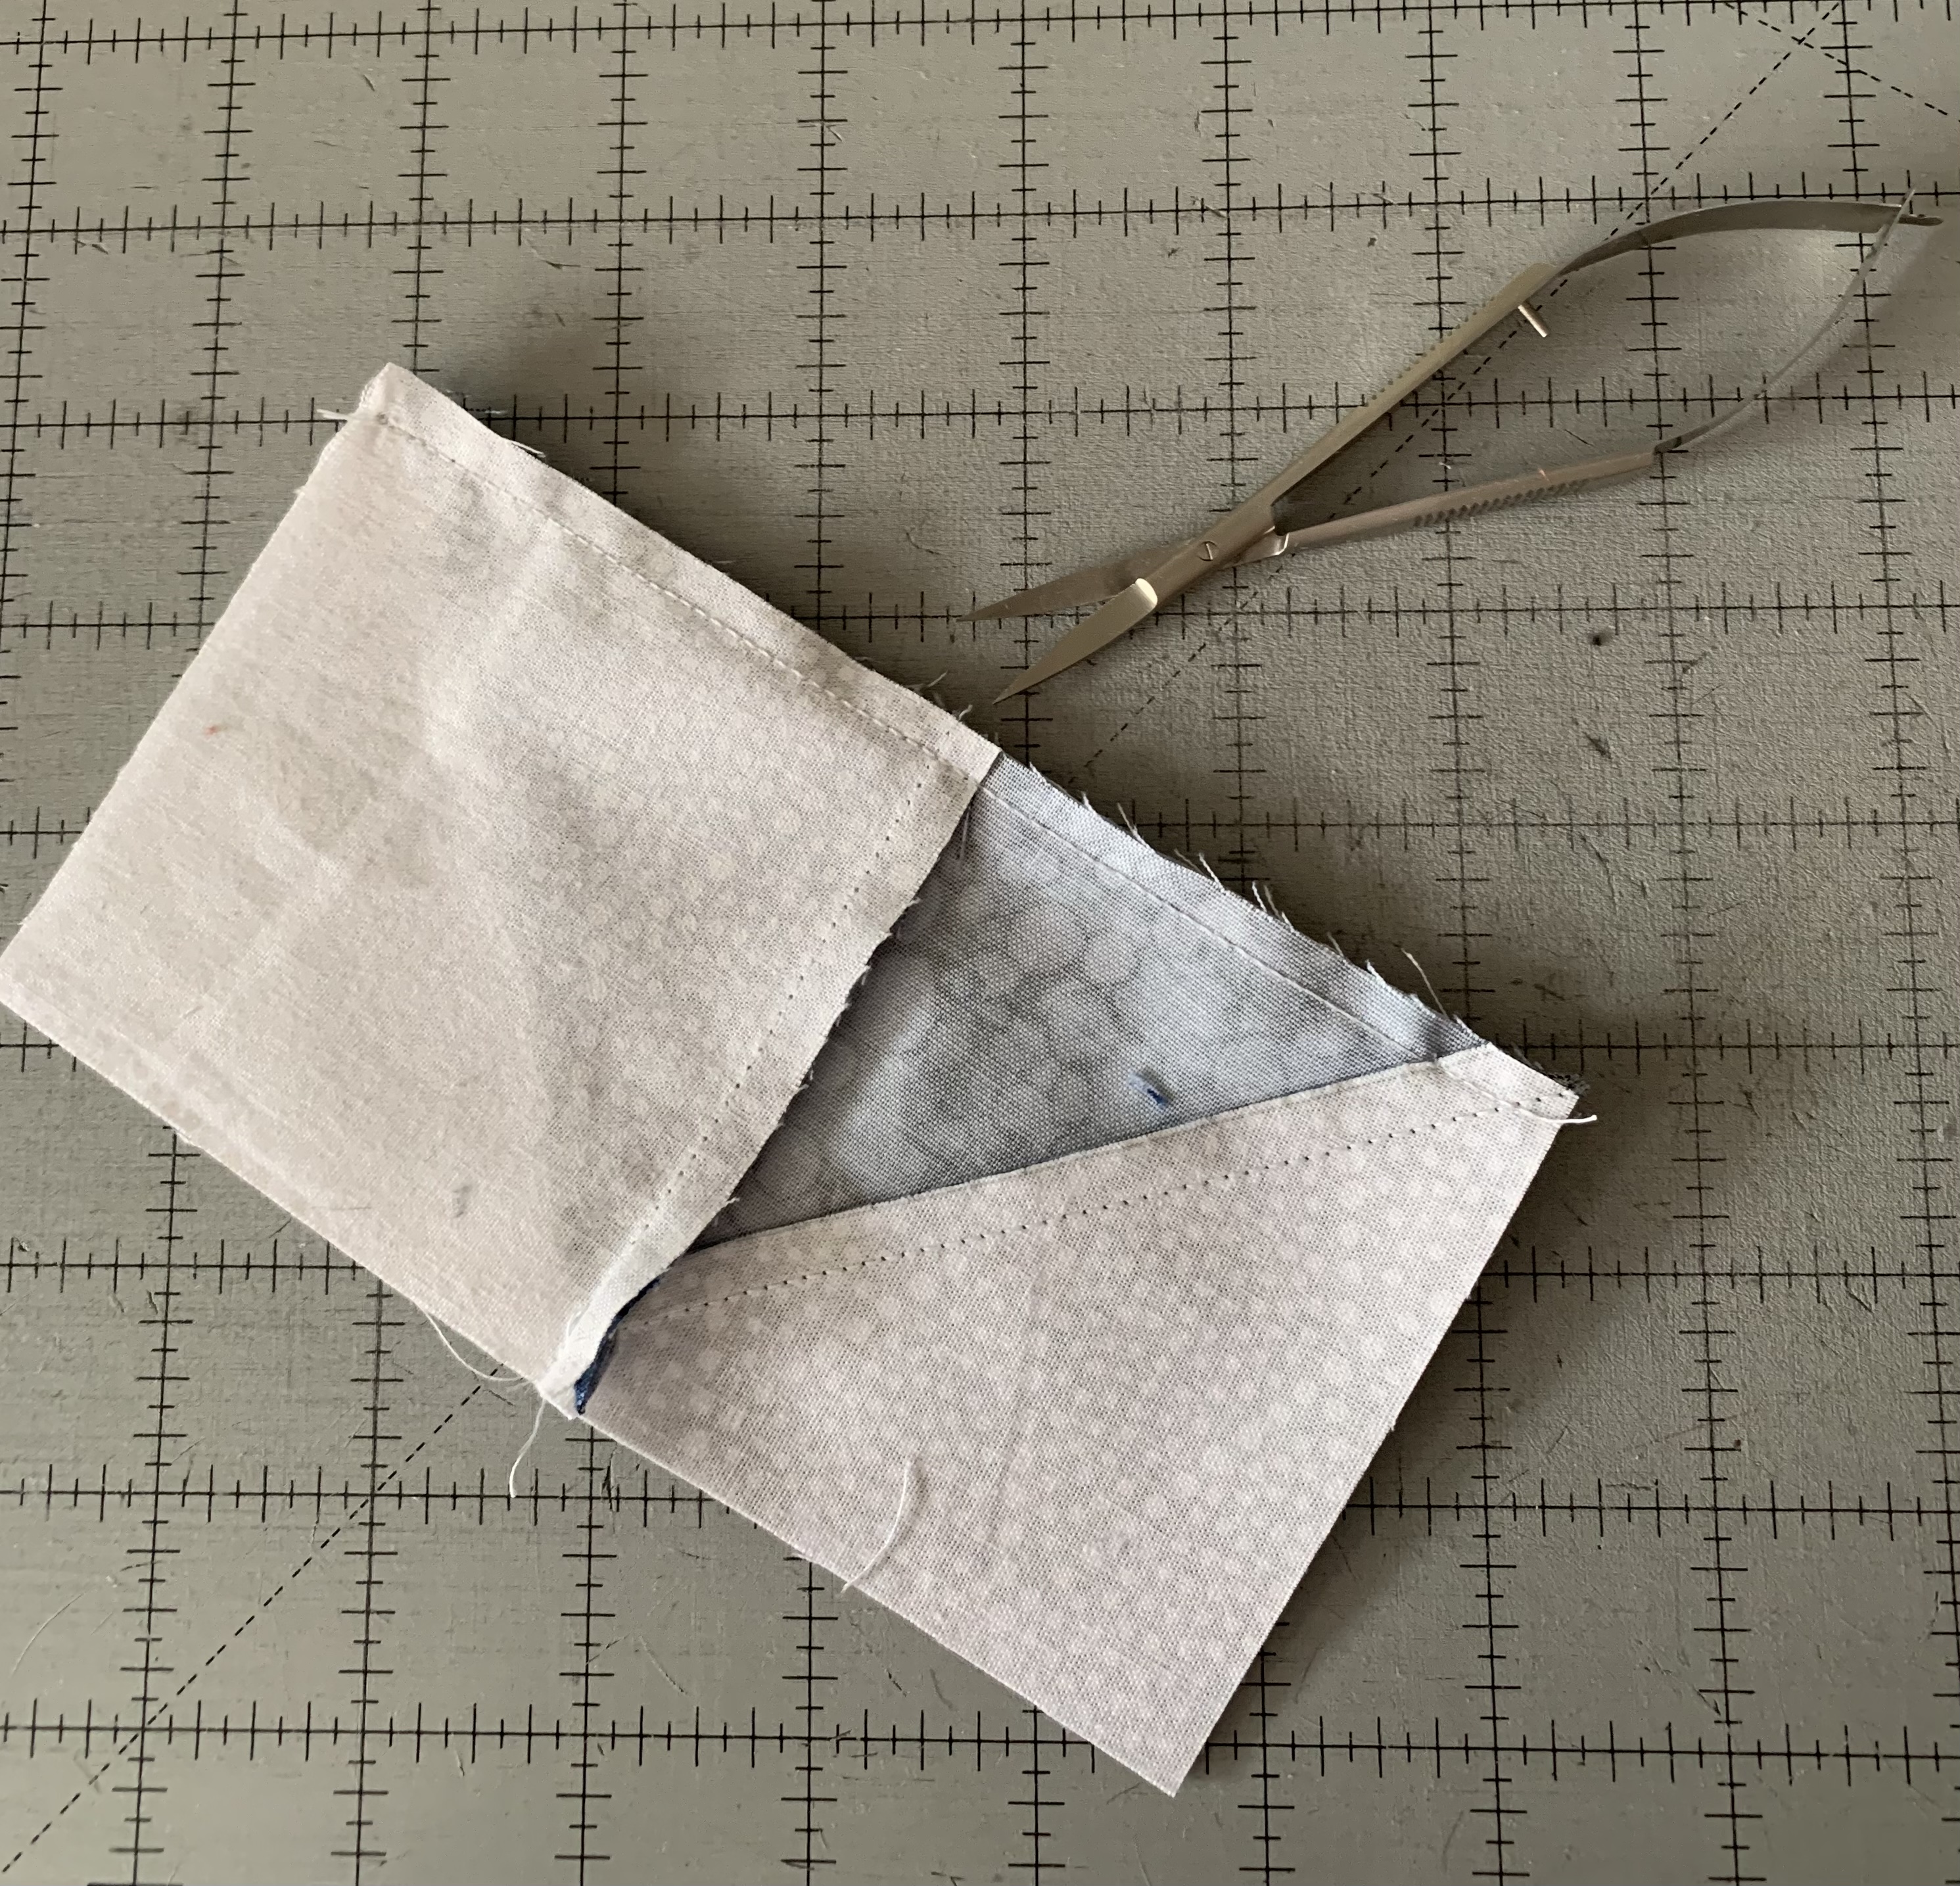
Next we will connect the wings...


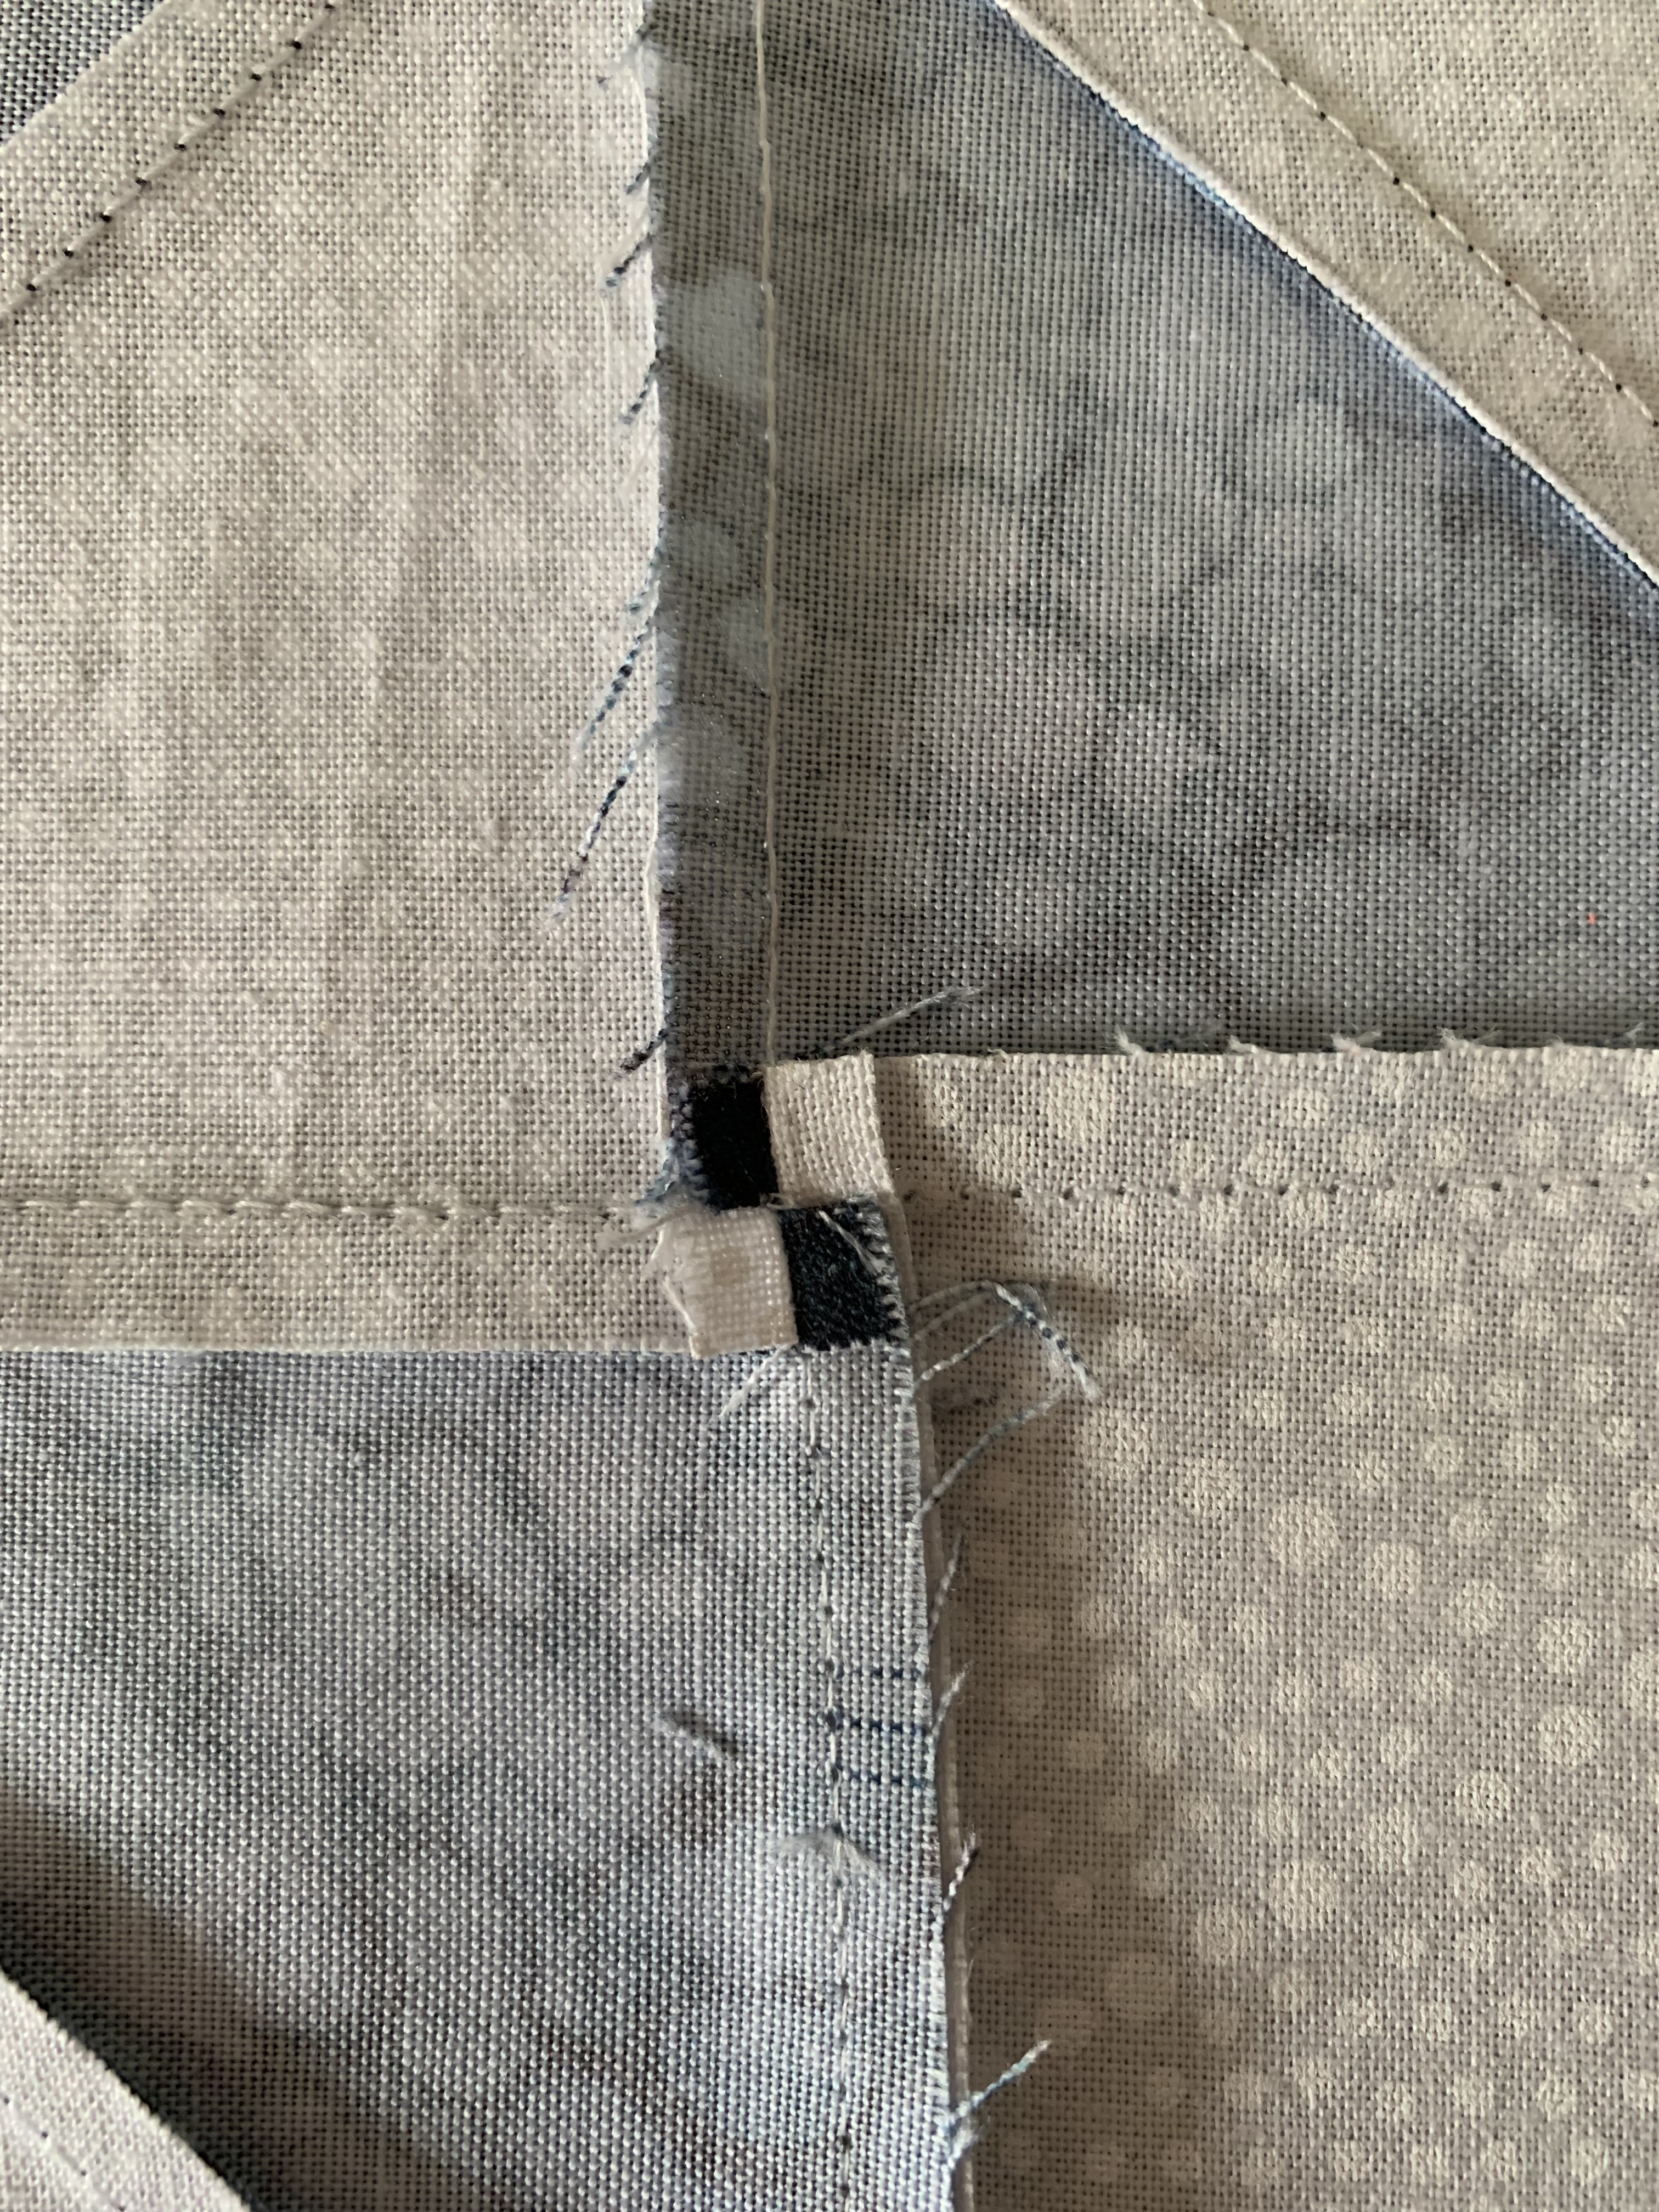
I like to sew with the point side up with a pin
(mark this down... a PIN in my world!)

I aim to make sure that my needle intersects right at the pinpoint


So I don't loose my points when it's complete! 


You are all making fabulous progress! 

This blizzard is the perfect opportunity for a QAL!

Make sure to post your progress on Facebook
as
we will be picking a winner
 for
 a little gift at the end of it! 

Stay warm and getting stitching!

That's what blizzards are for! 

Ok..... 

Not barefoot today....


Christa 


Monday, April 11, 2022

Wyoming Valley Block Beginnings - Step 1

TODAY IS THE DAY!! 

It's a great day to start this quilt along! 

I have created a Stars in the Valley QAL page on FB 

It’s open so come join even if you are not participating!

I hope you will post your adventures on your project as we go along!


Love to see all the colour ways as we go! 

Hopefully you had a chance to get your pieces cut out! 

If not...no pressure! 

These posts will always be available...forever!


My favorite thing about this pattern is how  you make components 

that 

turn into 13 large blocks! 

If you have arranged your pieces into the Steps....

We are going to start with STEP ONE

You will need the light and the dark 8" squares

and

52 - 3 1/2” squares 

On the light 8” square, 

draw a line from corner to corner on each square

Next

 Sandwich the dark and light squares with RIGHT sides together

Take to the machine

 and

 sew a 1/4" on each side of the lines


In both directions from corner to corner 


Next you cut from corner to corner 
as well as
center to center 


This will yield 8 half square triangle units.
I like to press my blocks with the seam towards the dark side. 


You can square them up now or later

I love my Blocloc rulers for squaring up HST’s


These should measure 3 1/2” square 
and 
you will have 156 HST’S


This pattern is pretty precise 


So No one will judge you if you don’t bother to square up! 

I didn’t and it turned out just fine….

You do you! 
Next I laid out the pieces to match this…


Took them to the bed of my machine 


Put right sides together 


Stitch the two units chain pieced
(If you want to)


I pressed my seams to the dark side 
And 
Everything will nest very well when you put right sides together again to complete this unit! 

I snip the little chain stitch before taking to the iron! 


I took a class from John Flynn years ago

He told us about giving this center seam a twist to pull the stitches apart on the backside


It will open up that center and lay the four little squares to press flat! 


Works every time! 


Taaahhh daahhh! 


You have made your first step with your corner blocks complete! 

You will have 52 units of Wyoming Valley Block! 

Onward and upward….

Christa


Sunday, April 3, 2022

Treat Yourself to a New Blade

 You know it....

How long has it been since you last changed your blade??

Let's get this project off to a great start with clean cuts! 

Your wrists will thank you! 


Hopefully everyone has received their packages by now! 

If you are doing it in your own fabrics - FABULOUS!

Can't wait to see all the versions!

I hear there will be some Scrappy and organized batik versions
as well as
two color quilts! 

Mom is doing hers in the teal/green Bliss
and
I am going to do it with the blue Bliss


We are using a wideback of white dot diamonds.

The pattern has you cut as you go 
so
 if any one wants the instructions for cutting ahead of time 

email me at acmarcotte@sasktel.net


I bagged my pieces according to each step


The HST's - Step 1


Flying Geese  - Step 2


Center Square in a Square - Step 3


Inner Zigzag border - Step 4


All the setting triangles, borders and binding


are in one bag. 


I can't tell you how many times I have cut out the binding for a quilt
and
can't find the safe keeping spot for it till I cut out a new one! 

Hope this is helpful in getting this party started! 

We will start Step One - HST's to make the Wyoming Block
 on
 April 11, 2022.

See you then... 

Oh yeah... NO PRESSURE! 

Work at your own pace!!

Christa 


My Favorite Way to HST's (16 at at time)

  Hey all my Spinning Wheelers!  I hope I have not put you all in the loonie bin with the amount of HST's in this project I promise the ...